Showing posts with label woven fabric. Show all posts

Sunday, June 12, 2016

Sewing progress-Simplicity 1363

Yesterday and today were bright summery days with temps in the low 90's. DH did some shopping chores for us yesterday AM which gave me time to cut out the fabric for my new top-S1363.

I made some adjustments to the pattern.  With this pattern there was two side front pieces with xxs-s sizes on one piece and the other piece was for m-xxl.  Simplicity patterns seem to run large in the upper chest/shoulder/neck areas on me so I decide I would cut a small in those areas transitioning to medium from the bust down.  For the front I overlaid the xxs-s over the medium size for the front pattern piece and taped them together, as you can see here.

I lined up the straight of grain arrows and aligned the medium for the sleeve and bust area to provide the extra width I needed.  Normally with kimono sleeves like this I end up taking a deeper seam in the under arm area, so I made find the small to work better.  Better to have more to take deeper seam than less and have tightness.

I was able to sew the front piece before going out to dinner Saturday.  This morning I sewed the back pieces together with the back lower band.  I did make a 3/4 inch swayback adjustment and cut about 1/2 inch off the center part of the back band tapering to nothing near the side seam.  I know from the finished measurements for the back from waist to hem that this was going to be longer than I wanted.

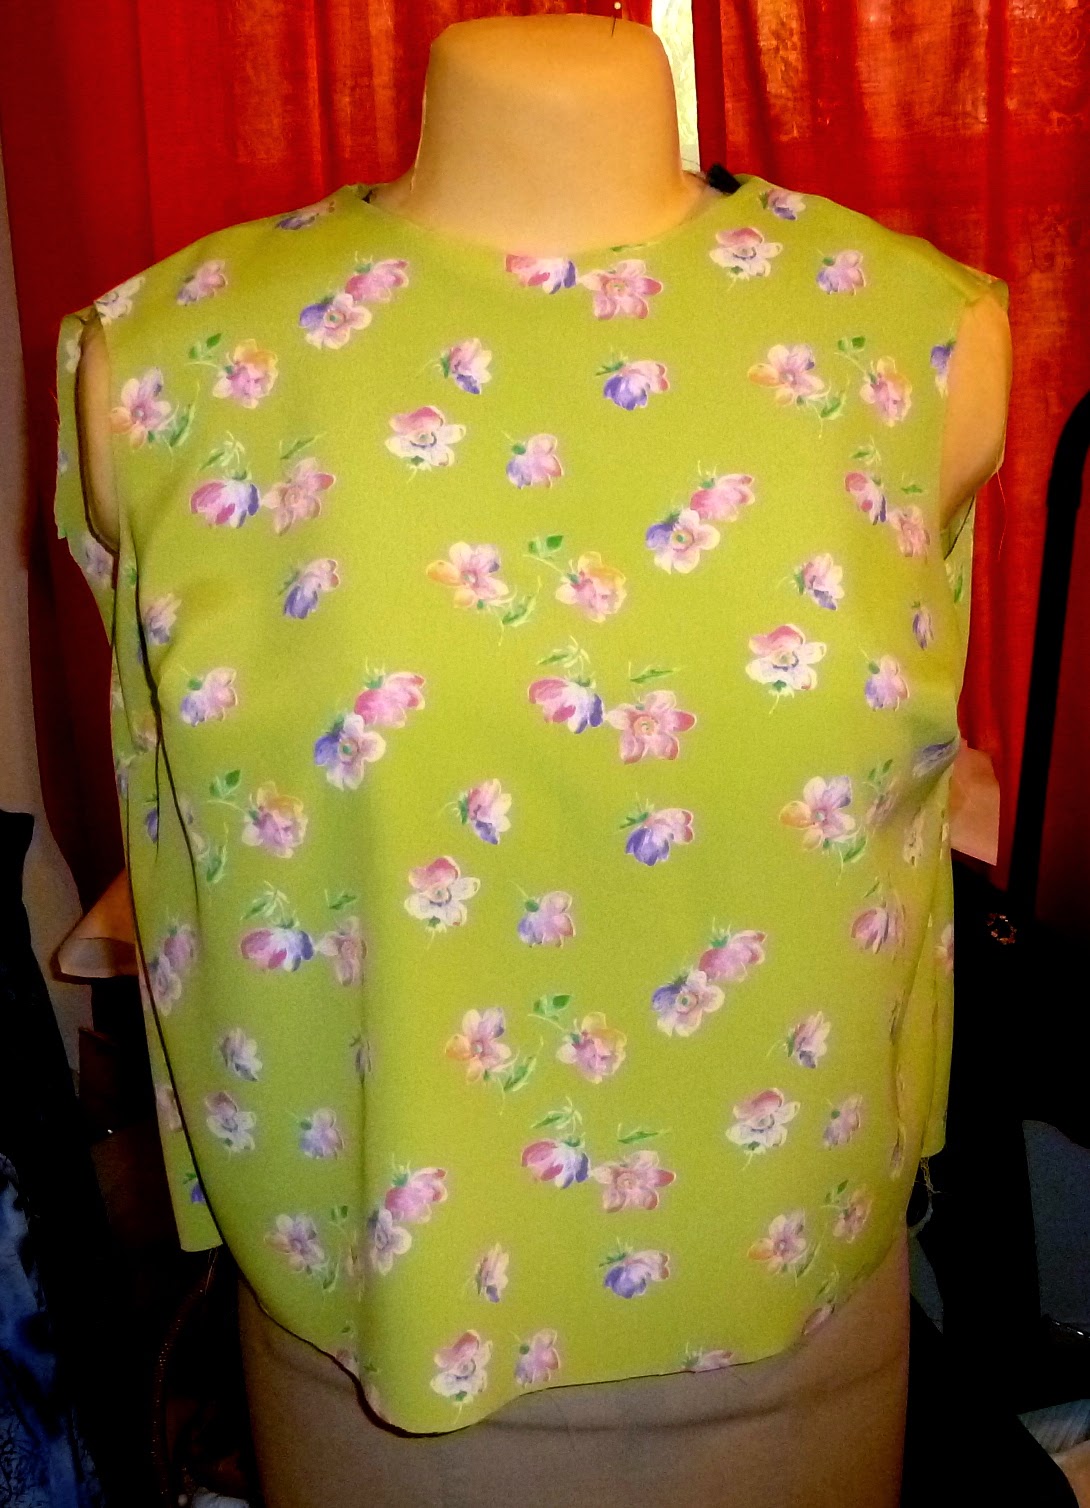
I sewed the front to back at shoulders and began fusing interfacing to the neckband before stopping as DH and I planned to go out this afternoon to spend time doing some outdoors activities, just to pretty to stay in all day.  Here is the front and back on AlmaMarie

Back with back band attached.

Front view


I love this fabric!  Very light weight, yet not to fiddly to cut out or sew.  This I purchased from EOS in 2014.

Will share more as sewing progresses.

Saturday, April 02, 2016

New Project

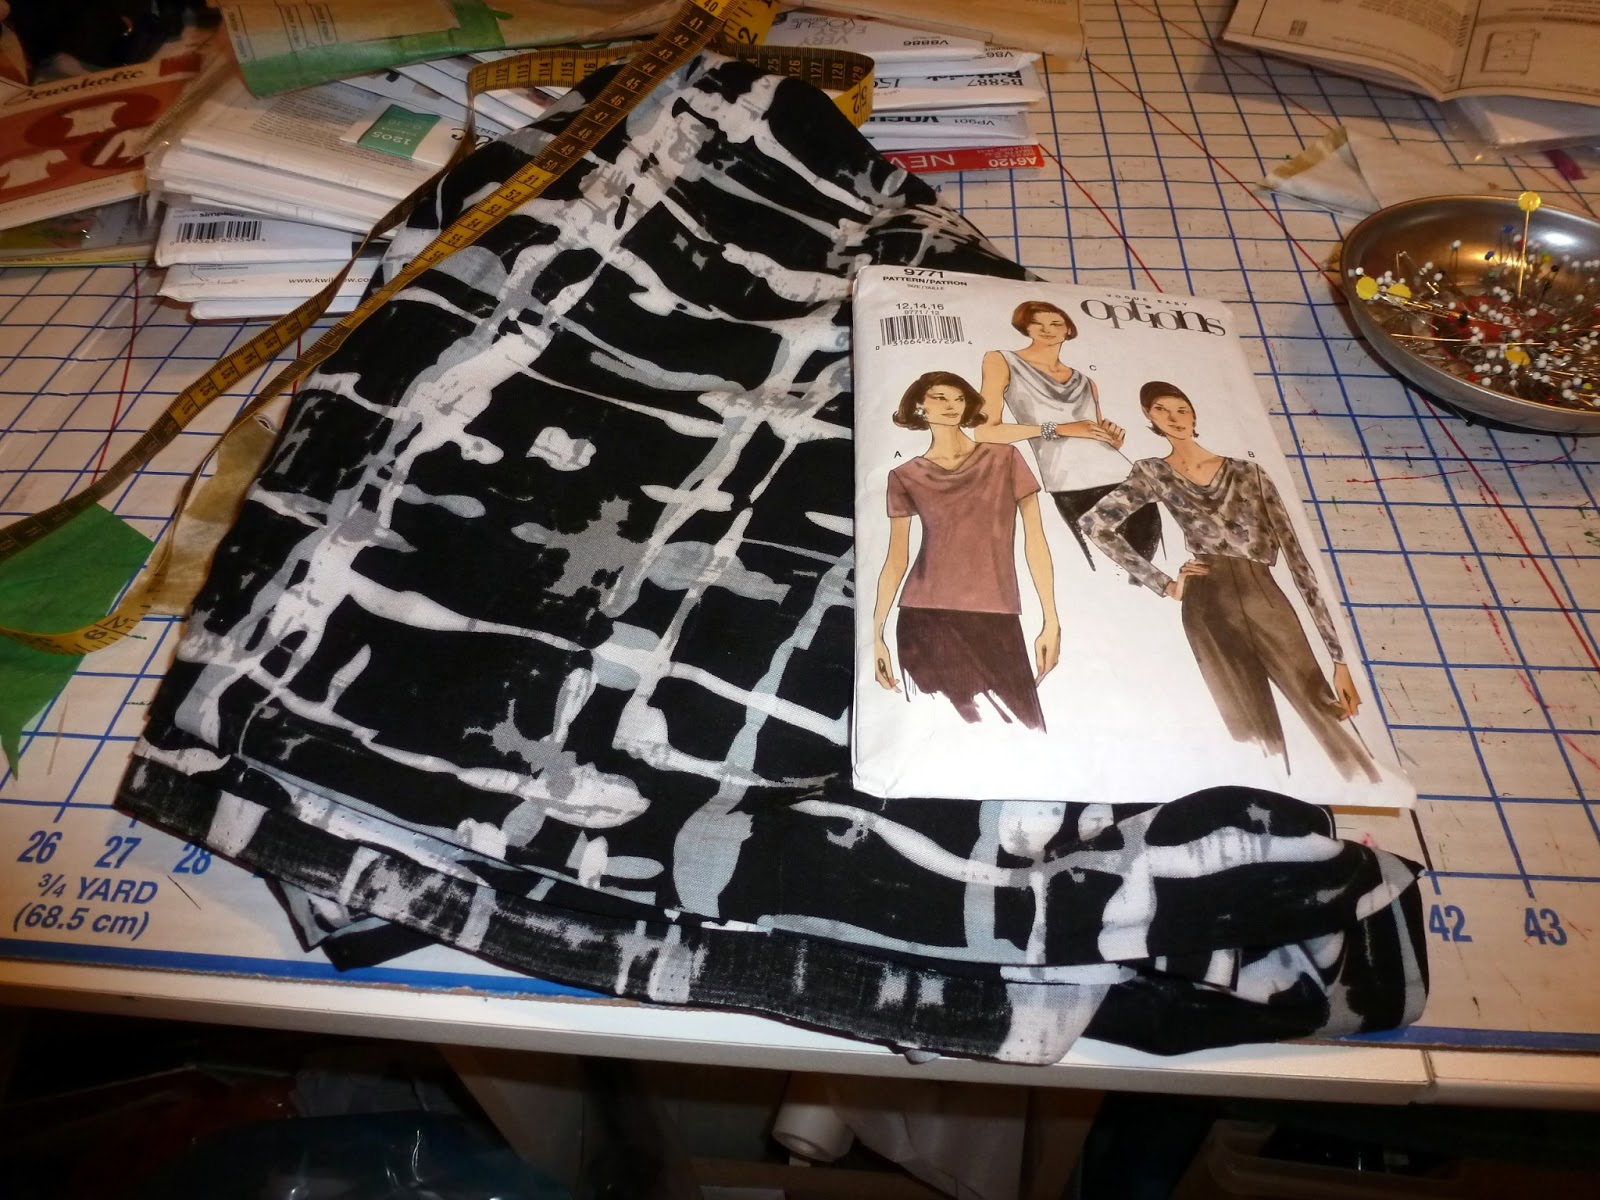
I began a new project today, starting with cutting out the fabric this morning.  I purchased this fabric from EOS in March 2014.  Lovely fabric, slight drape, cotton viscose. I previously washed the fabric so with a little pressing it was ready to cut.


The front yoke in the center was somewhat of a challenge to insert.  I don't like how the instructions are for this as it requires a lot of hand stitching and I avoid that as much as possible.  So I did my own thing.  I still think there is a better way to do this with a nicer look on the inside, better than what I achieve with machine.

Here is where I left the project earlier this evening.
I hope your weekend has allowed for some sewing time.  As always more updates to follow.


Sunday, November 22, 2015

Becoming a Jacket

I am beginning to feel like I will have a new jacket soon.  I made lots of progress this weekend.  The jacket unit is complete; next is to sew the lining pieces together and attach to the jacket!!

Here are a few photo shots of the jacket in progress on Alma Marie.  Alma Marie is a little large than I am and she has much broader shoulders so the jacket may look a little distorted.  The last sewing I did earlier today was to attach the sleeves.  I plan to insert sleeve head before attaching shoulder pads.

Front on Alma Marie, unzipped
Back view on Alma Marie
Close up of welt; no pocket bags attached.
I am on vacation and holiday next week; my hope is to complete the jacket before DH and I spend time with friends for Thanksgiving.  I hope to be able to wear this then.  The weather has turned cold, not cool; so I think this will feel nice for a day time event.

I have enjoyed this sewing project.  The fabric has been great to sew with, I ordered it from Mood back in October 2014.  It is a Marc Jacobs Italian Wool Tweed.  I have not sew a jacket in a long time and jackets were items I made a lot.  More to follow.

Sunday, May 10, 2015

Sewing progress

I spent a lot of time on B6175-crop, boxy top.  I am not exited about how the top is shaping up.  Some of my dislike is that the fabric is not performing as I thought it would for this top.  The other dislike is not so sure that this top is going to work for me.

I had to make some fitting adjustments throughout the sewing process for this top.  As you will recall from an earlier post, I had to cut a new front piece which improved the fit and allowed me to re-position the darts.

I decided to use an invisible zipper for the back piece, which I like and glad that I did.  I now think though that I might should have taken a deeper back seam.

I had to remove 1/2 inch from the shoulder width as after basting in one of the sleeves for fitting purposes I discovered that it was falling off my shoulder too much.  I removed 1/2 inch from the back of the armscye and 3/8 from the front of it.  This helped improve the fit.  I also took a deeper back seam below the zipper.  I think my next move will be to taper the seams from the waist down to make it less boxy!  The sleeves are seem a little long, they are not yet hemmed.  I may shortened them before I am through!

I  pressed all of the seams after sewing and I am not liking how they look after pressing, that I know is due to the polyester fabric.

This may prove to be a wadder.  I have sewn a few of those over the past few months.

I really need to remeasure my shoulder width, upper chest and more as all the tops I am making of late are just to large.  I do buy my top patterns based on upper chest measurement.  When you get past a certain I think you do shrink.  I use to be 5'3", now I am 5'2.25"!  I have been getting in my workout time so that changes things also.

Here are some parting shots of work in progress:


I was still in PJ's and no shower and make up so what you get is what you see.

I am ready to move on to some other projects.  Perhaps it's time to make something in a pattern that is already fit perfected.  I need a winner.


Sunday, May 03, 2015

B6175

I spent some time sewing this weekend-yeah!  I just have not had the mojo to sew much.  With the nicer weather this weekend I felt like spring and was able to move forward with sewing Butterick 6175.
I am making View C without the collar.  After pin fitting Friday evening, making pattern adjustments and cutting out the fabric yesterday, I was ready to sew today.

I immediately ran into a problem with the darts.  They were way too low after making a 1 inch FBA. Unfortunately I could not redo them and like the outcome.  Happily I had enough fabric to cut out a new front piece after going back and making adjustments to the front pattern piece.

There is a lot of ease in this top and think that the finished bust measurement is not truly accurate.  I went down a size, adjusted the dart angle and cut out a new front piece.

Here is the top in progress on Alma Marie.  Had to take a break from sewing to actually fix dinner; seeing how it does not fix itself.

Front view 

Side view
The instructions call for a back seam with facings attached and fasten with hook and eye.  I am going to insert an invisible zipper.  I think I will like that better.  I plan to baste a zipper in place and check the fit.  I recently have been taking deeper center back seams of late and think that this boxy top may require that also.

More later.  Hope your sewing weekend was a good one.

Monday, July 15, 2013

Style Arc as promised

I took these photos early this AM.  I had not finished applying my makeup and decided that you did not need to see that so cropped that out for this photo.


In looking at these photos, I don't think this fabric was the most flattering for making this top. 20/20 hindsight is most helpful after the fact.  I think using a solid color fabric or coloring blocking is  better for this top, that is what is depicted on the pattern sheet.  The fullness of the top along with the lines of the fabric are not pleasing to me.

I decided that I should share the good, the bad and the ugly.  I am going to use this as my learning moment to better review and audition the fabric more before cutting and sewing.

Monday, May 13, 2013

Work in progress for May 2013

I made a lot of progress on my new dress project, V8027.  I cut it all cut out.  Interestingly there are no interfaced pieces, basically cut and sew.  I did have one hiccup.  Because I cut the front facing with draping collar reversed, I had to reverse all the front pieces.  I am so happy that I caught that when I did or I would have ruined good fabric.

I ran into an issue with the collar area and had to go back and redo that area.  I ran out of time at that point as DH and I had dinner plans for Mother's Day.

Here are two photos of the work in progress.  The lighting/flash on camera washes out the pretty color of this fabric.


More later.


Sunday, March 24, 2013

Vogue 1306

My first top for the Top Sew Along is Vogue 1306.   I tried it on and I really like it.  I plan to take a vacay to the beach this summer and I see this as a loose fitting top for beachwear.

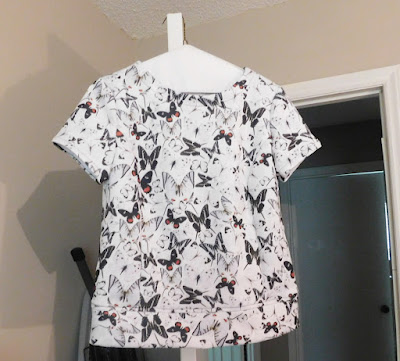
Here are a few shots of the top on a hanger; my Sunday appearance is not for picture taking of garments on me.
It still needs hemming as do the sleeves.  The back is longer than the front and this is not seen on the model wearing this version.  I like though.


This is the back view.


Here is a close up of the placket.  This was the most challenging part for me and coupled with fiddly fabric it became a real issue.  It is OK but need to learn how to do this better.

Final shot is the inside view of the fuse and gather tape.  It is a pretty good product to use as an alternative way of making gathers.  You lay the tape down so the blue thread is on top, the white thread is fusible thread.  You tie off one end of the blue threads and then pull the other end to make the gathers.

I think my next top is a repeat of a previous Vogue top I made with short sleeves.  The fit is perfected so just cut, sew and wear!

Wednesday, January 23, 2013

A box and some fabrics

Returning to work after a holiday can prove to be a long day; it is like a double Monday sometimes.  It was nice to come home and find a box on the porch.  This was the box

Mood Box

This was inside the box:

Gray metallic viscose knitThis is a gray metallic viscose/rayon knit.Wrong and right side metallic viscose knit-Mood 2013

Left side of photo is the wrong side of the fabric and right side of photo is the right side of the fabric.  I think I will use both.


Black damask printed-Mood 2013

This is damask in black with gold floral print. I fell in love with this fabric awhile back and after seeing these pants  I decided I had to buy this fabric.  I will not be sewing up a pair of pants.  I just don’t sew pants, maybe someday but this will either be a skirt which was my original plan all along but it could become a sheath style dress.

When I purchased this fabric I also broke down and purchased a few Style Arc patterns.  The postage is a killer but I do like the pattern line and wanted a few of her top patterns.  Yeah, like I really need more patterns.  I am running out of space now.  Such is the life of a fabric-patternaholic.

Sunday, November 11, 2012

V8773 Completed

I was able to finished the navy blue Vogue skirt.  Here are a few photos of the completed skirt.  Pressing still needed.  The first one is lightened version so you can see the various front seams.
 Another view of the front.
 I lined the skirt using the skirt pattern for the lining.  The waistline is faced using grosgrain ribbon.
 This is the back view of the skirt.
 I lightened this view so you can see the center front split and lining is peaking through.

Monday, October 01, 2012

Simplicity 2451

The only thing left to do is hem the skirt and the lining!  I took some photos this evening of the skirt
This is the completed skirt except for the hem.
This is closer look of the yoke and side pockets.
I topstitched the edges of the yoke.  I did this also because it helped to keep the yoke edge in place.  I wish I had edgestitched the pockets, but didn't.
This is the lining side of the skirt.  The upper edge of the skirt needs to be pressed and I may edgestitched the top edge of the yoke.  I am pleased with the fit of the skirt and now I only need to decide on what the top should look like.

September was my month of skirts.  One I did not complete and that was the Magic Pencil Skirt.  I just did not like the knit fabric I chose to use.  I needed something with a little more body to it.

For October I am going to concentrate on tops and jackets.

Sunday, September 30, 2012

Heading toward the home stretch

I have made great strides on completing the skirt in progress.  I have truly enjoyed sewing the polyester crepe fabric. The front and back pieces are complete and I am now ready to insert the zipper, sew the lining and fabric units together and hem.

I have a business trip coming up the middle of next week and had hoped to have the skirt and top ready to take with me.  Most likely will not happen.  I will be taking two skirts I made; one last year and one last week.

I am really stumped on the top to make with this skirt.  I realized I have limited fabric as I remembered that when I bought it from EOS she had only a small amount left and I accepted what she had.  The other criteria is that it needs to be a more fitted top to work with this skirt.

I am going to edit a few photos I took of my Vogue skirt and post shortly.  I wore it last week and I decided to get on the mixed pattern band wagon; I think I did it rather successfully based on comments I received.  This will be one outfit I will take on the trip.

Later.

Sunday, September 16, 2012

Magic Skirt

I completed the Vogue 8750 skirt; the bias did not grow.  I only need to add the hook and eye.

I started on the Magic Pencil Skirt.  I am using a knit fabric that has been in my stash for so long and don't remember when I actually purchased it.  I do know that it came from Fabric.com.  There are two sides to this knit fabric with the predominantly white background most likely being the "right" side.  I decided to use the "wrong" side for this skirt.

This is a scrap of the fabric
Not sure why I have been on this black and white kick of late, perhaps because the machines are set on this.  Yet I keep seeing a lot of black and white in the magazines which is also an influence.  Once this is completed, I am switching to pale yellow.  This is the fabric up next.
I also plan to use this knit fabric from EOS for a top to wear with this skirt as well as some others in my closet as well as planned.
It goes nicely with the crepe fabric above but the photo of the yellow fabric looks washed out and could not get the edit of the color correct.  

Have to give the neck and shoulder a rest.  Sewing in spurts helps but frustrates me when I am on a roll.


Saturday, February 19, 2011

New Fabrics

I mentioned in a previous post that I had purchased two fabric pieces from Sawyer Brook that arrived recently.  Today the fabric I ordered from Denver Fabrics came.  So without further ado, here are some shots of the new fabrics:

silk rayon woven-Sawyer Brooks-2-2011

Green mid-tone silk rayon fabric from Sawyer Brook, I think it was called Avocado. 

woven-cotton-Sawyer Brook-2-2011

This is the second piece from Sawyer Brook.  It is a cotton with raised circle designs woven in the fabric; I suppose a jacquard.  I think this will be a summer sheath style dress.

Today’s newest additions:

Multi color geometric-stripe knit-Denver Fabrics-2-2011

This is from Denver Fabrics, a knit geometric and stripe design.  I am thinking a Jalie knit top with tie.

Olive greeen animal print knit-Denver Fabrics-2-2011

This is an animal type print in olive green and white.  Also from Denver Fabrics.  Probably will become a knit dress.

Stretch lace-Denver Fabrics-2-2011

I fell in love with the colors and not really sure what this will be but it is a lovely stretch lace fabric.  It is really a lovely fabric in real life, more so than seen on Denver Fabrics website.

Now off to fix dinner and hopefully find time to cut out the KS jacket.  I made some additional fit adjustments to the pattern this afternoon and I think it is a go now!

Sunday, January 16, 2011

Attaching contour waistband

I worked on the skirt pattern yesterday evening and completed the front portion.  I am trying something new, for me, using a technique I read in a past Threads’ article. 

I decided to attach the front contour waistband to the skirt front first.  Normally you stitch front and back skirt pieces together at side seams.  Then you stitch front and back waistband pieces together at side seams.  Once this is done you then attach the waistband to the skirt.

2343 front with waistband attached

I used this new method for the front skirt lining as well.

Front lining with waistband attached

Once I complete the back skirt darts and seams, I will attach the back waistband pieces also.  The result will be that the all side seams (skirt and waistband) can be sewn in one continuous seam.  This will allow me an opportunity to adjust the side seam in the waist and hip areas with out having to remove waist band stitches to then adjust if necessary. 

Normally I do fittings along the way and get the best fit.  With weight/body changes, some of my skirts made in the past two years, need adjusting for me to wear them again, needing to take up seams in most. This method would allow for more ease of altering.

Thursday, August 12, 2010

True confession-I am not overjoyed with the yellow dress

I know many of you have kept up with my posts about the Simplicity dress.  I am pleased with  how I underlined the dress bodice.  I like that I lined the flounces with self fabric.  I even like my elastic covered belt with silver buckle.  I have to say that the dress feels heavy, probably due to the weight of the bodice flounces as they were designed to be one layer. I love the color and the fabric I used was nice to sew.

However I am just not overjoyed about the dress as I thought I would be.  I don't wear flounces in the bodice much so that feels unusual to me.  The neckline stands away from neck and shoulders.  I knew that it was going to do that as it did from the start and a couple of things I did to try to fix it just didn't eliminate that.  I even thought I should take a deeper seam in the upper chest area, as I think the dress feels too wide.  But if I do that I don't think I could get it on, as it is a pull on dress.

Here's a link to the photo shots of dress-front view.http://www.flickr.com/photos/danvillegirl1951/4885055388/in/photostream

I actually pressed the dress before putting it own; you can see the wrinkles just from putting it on.  I plan to take it to dry cleaners for a good pressing and will wear it next week.

Sunday, August 08, 2010

On to the next dress

I completed the Simplicity dress last night; I only needed to hem it.  It now needs pressing-a lot!  Linen and wrinkles go together hand in hand.  I did not feel like pressing it today;  I plan to wear it later this week and will press and take some photos of it then.

I said earlier that the yellow dress was going to be my last summer sewing project.  Well-I am making one more dress and cut out the fabric this AM.  It is a border print that I acquired from Fabric.com months ago.  It was labeled as silk dupionette.  As you can see from the picture there is a floral border.  I decided to reverse this and use the border at the neck-shoulder-upper body and have the flowers cascade down the dress.

This is a simple Vogue dress pattern that truly allows the fabric to carry the design.  I made this dress earlier this year and received so many compliments when wearing that I knew it was a great dress style for me.  I could have started sewing on it; but kind of lost the sewing mojo as I began to think about things I needed to do before returning to work tomorrow.  My vacation has been a good one, time at the beach and time sewing.


Saturday, August 07, 2010

Dress is almost complete!

Almost complete.  I inserted the elastic into the casing made by stitching the bodice to skirt and then stitching the upper edge of the seam.  Pattern calls for 1/4 inch elastic but I used 3/8 for a better fit and feel.  I then covered the belt elastic.  I was able to find a silver buckle at JoAnn's on Thursday to use. After elastic was covered and folded over edges were sewn down, I tried on the dress and decided I did not like the A-line look of the skirt portion. 

My inspiration dress is more straight or tapered.  I then look in the side seams from just below the side seam pocket to hem edge.  I did this for lining fabric as well, of course.   All I need to do now is hem the dress and lining!!! 

Yea!!  This project was beginning to make me feel bogged down.  I have more projects floating in my head and want to get started on them before my vacation is over and back to work!!

Sunday, July 25, 2010

Flounces

I wanted to share how the flounces turned out using the fabric as lining.  It has given them some body which I think was necessary and makes them more like the ones on the dress that I am copying imitating. 


I stitched 1/4 inch from the outer edge of the lining fabric pieces and then trimmed the outer edge right up to the stitching line.  I attached the lining fabric together at the shoulders per the instructions.  I then sewed the outer edges of the two layers together.  After pressing the seam allowance I then turned under the lining fabric to match at the upper edge of the flounce.  This method allowed the upper fabric to turn under about 1/8 of an inch as I stitched the two outer edges together using 3/8 seam allowance.


I then basted the flounce to the upper bodice side front and back pieces which also had been stitched at the shoulder.

August Sewing Simplicity 7295

 I am not doing well as a blogger. I have been working on this project since July 30. Today, I finally finished it. It has been a stop-and-g...