Last night I woke up and decided I need to reduce the collar on my jacket I am about to complete. I then thought on this for at least 30 minutes before going back to sleep. The collar and the neckline area on this jacket has been bugging me for a couple of days. The pattern envelope does not show the jacket style I am making made up; only a drawing. The drawing looks different than my reality.
Here is the pattern. I am making the jacket that looks like the one with roses on it.
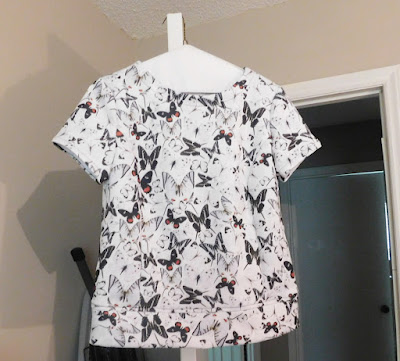
Here is a photo of the collar before I cut off 1/2 inch this morning.

Reducing the height has helped but the collar is still going to stand away from my neck. It is an okay look, similar to another jacket reviewed several times on Pattern Review, which is a Vogue or McCall's pattern. It is just not what I thought it was going to be when I started the project. I think it will make it look a little nicer on a smaller neck. The next photos show the front and the back of the jacket, again before I reduced the collar height.


I used Peggy Sager's technique of using tie interfacing to create a sleeve head. This also aids in easing the sleeve cap for easier insertion into the armscye. I did add a small shoulder pad as well. I like shoulder pads in jackets. From the model photo on pattern envelope I believe that the jacket worn has them; yet the pattern envelope does not call for them either under notions nor references them in the sewing instructions.
I have attached the lining unit to the jacket. I decided to break it down into steps. First I sewed the lining neckline to the jacket neckline. I have sewn one front edge and facing with lining. I had to stop at that point.
What's left:
- Sew the other front edge to facing/lining.
- Sew the hem to the lining, using the bag it method.
- Sew the sleeve hem to sleeve lining hem.
- Turn inside out, press.
- Acquire buttons, make buttonholes, sew buttons.
- Done, ready to wear.


