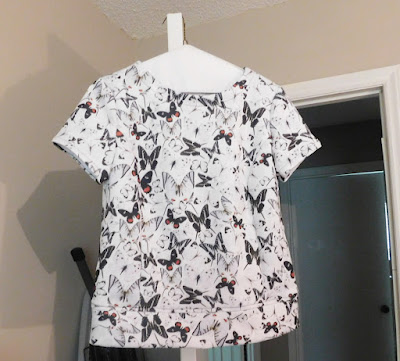
I am so pleased with how the dress is looking and though progress has been slower than planned or expected, the outcome is going to be exactly what I wanted.
This morning when I first woke up, completing the dress was one of my first thoughts and the second one was in regards to the zipper. I love invisible zippers and truly have perfected inserting them. Yet for some odd thought process I decided to use a regular zipper. Now that this is out of my system I will go back to invisible zippers. I ran into some issues when stitching the zipper but all in all it looks just fine.
Here are some photos I took of the dress this AM and as of this writing sleeves are ready to be attached; then hem the dress and sew on hook and eye.
My camera settings make this dress look black, but it is a very rich looking navy blue.
The pattern only calls for lining the bodice and sleeves. The fabric I used for this dress really needed to be line; I used the skirt pieces to cut out the lining. I sewed the skirt lining and skirt separately, basted the edge of the lining and skirt at upper waistline and then attached all to the bodice.
Front lining attached.
Back lining attached and zipper inserted.
Before sewing all of this, I basted the bodice and skirt together and basted in the zipper for final fitting. One adjustment I made after making the first version was adding to the hip area on the pattern piece. I have hip fluff and with skirts I add about 1/2 inch at the waist line of skirts over the hip area tapering back to the waist at the side seam. By taking Lynda Maynard's fitting class on Craftsy, I learned about how to add some width to this area by drawing a line parallel to the straight grain line about an inch to 1 1/2 inch from the side seam.I then cut from hemline tapering to nothing at waist line on the pattern piece. I then adjust this area by spreading an amount necessary. For this dress I added 1/2 giving me a total of one inch and maintaining the shape of the side seam. This gave me the extra width I needed for the back darts to fit appropriately and have ample fabric over the back hip fluff right under my waist.
All other fitting adjustments I made with first version were incorporated into the pattern before I cut this one out. I have the fit and look I really wanted with this dress. One more fitting I did with this version was I took deeper side seams right starting right below and in line with the bottom of the front dart. This gave the dress a more tapered look that I prefer.
More updates to follow.
Subscribe to:
Post Comments (Atom)
August Sewing Simplicity 7295
I am not doing well as a blogger. I have been working on this project since July 30. Today, I finally finished it. It has been a stop-and-g...

-
I am not doing well as a blogger. I have been working on this project since July 30. Today, I finally finished it. It has been a stop-and-g...
-
Recent sewing projects I've completed have been challenging. It is the first time in probably months that I started a dress pattern a...


Looking great! I am following you closely as this dress is next on my list ... J
ReplyDeleteThis is my second version and I am liking it even more. I am traveling again so did not get to finish it as I had hoped. Work gets in the way of my sewing fun!
DeleteVery nice! Must pick up this pattern at the next sale!
ReplyDeleteIt really is a good pattern. Some say the bodice runs large. I am not finding that, I find the skirt portion at hip line is to full for me. We all have our various shape/fitting concerns.
DeletePretty dress and Navy is one of my favorite colors.
ReplyDeleteThanks, Sheila. I have not made much of anything in navy over the past few years.
DeleteI love the way this is looking so far.
ReplyDeleteThank you!
DeleteThis dress is looking really good Linda - can't wait to see it on you. As Judith commented, a few of us are eager to see it as we have it on our lists - I do as well :)
ReplyDeleteI am traveling for business again and did not get this finished before I left. I am anxiously wanting to finish this and wear it.
Delete