Actually, I wore the top yesterday and it passed the wearability test. It seemed to get looser the more I wore it which is okay but I added some width to this version and perhaps I may need to take up the side seams a little.
I was running around a lot yesterday so I did not take time to set up the tripod and pose well for the photos that follow. I just stood in front of a mirror.
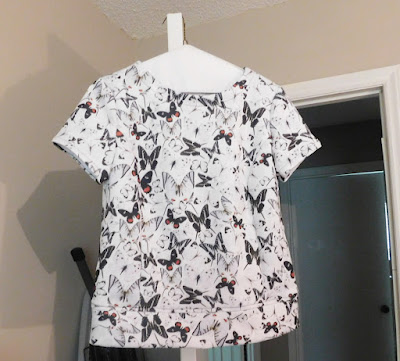
The front view. There is a lot of fabric from the waist down and I see some puckers. Some are due to the band attachment. The center front piece has lots of layers. The pockets are attached to the center front at the waist. The front side pieces are attached the upper center front and the pockets are flipped over and are attached to the front side pieces at the side seams. Those side front pieces have a center portion that becomes a double layer of fabric in the center from the waist down. You stitch a line of stitching through the center front from pocket to pocket. In the end, you have a pocket pouch. My fabric was thick somewhat like scuba knit and you really have fullness in the front.

I used the reverse side of the fabric that was solid black for the front sides and back sides. I added width to the biceps as they were tight in my first make which was from french terry and probably not an adequate stretch for this pattern. I don't have issues raising my arms now. The fit at the wrist is comfortable but narrow; I think the sleeve pattern is drafted narrow overall.
This was the best back shot I could get using my mirror taking photo technique. The back fits well and the wrinkles are due more to my twisting my arm to take the photo. The back is a little longer than the front and covers my bum. Which I think will make this a top to wear with leggings for me.
This is the bottom band and it overlaps at the side seams. I like the look of this. You cut 4 band pieces, stitch two together, understitch and then attach right side to the front from side seam to side seam. You then do the same with the back band and overlap over the front band piece. Let me say at that overlap section you are actually sewing through 5 to 6 layers of fabric. As I noted, my fabric was thick and I had to use a Universal Size 18 needle to sew through these layers slowly.
Here is the underside of this.
I trimmed some of the seams that would be encased when I serged this to reduce bulk and help my serger cut and serge this area. With my first version, I caught some of the front and back bodices in the serger and created a big hole that just was not repairable.
The neckline is rather high but I did not trim it down. I still have too much fullness in the neck area and I reduced the length of the shoulders. I really need to update my measurements as I am finding that I can go smaller in the upper chest area which I have always done but may need to go one more size down. I am chalking this up to the aging process.
All in all, I really like this pattern. In some ways, it is like putting a puzzle together particularly with the front and side front pieces. It is a nice top to wear with colder weather and I actually wore a tank top under it yesterday to get a feel of how that would be when wearing while being very active outside. Worked great.
I don't think I will make another one any time soon. I have put together some sewing plans for January and will share those soon in another post.


The final result is very nice! I love the colorblocking with the black!
ReplyDeleteThis looks great, Linda! Thanks for reviewing this. I love your fabric choice.
ReplyDeleteThanks!
Delete