Making slow but steady progress with M7636. This is a challenging project and I am taking my time to make sure that it goes together well.
I am excited that I have finally completed the jacket unit and now ready for the lining unit to be stitched and attached. Here are a few shots of the WIP.
Front view with zipper and piping basted to front. It will be appropriately stitched when the lining and facing is attached.
A closer look of the zipper and piping. You really can't see the piping. The zipper teeth are placed over the piping edge, so when stitched the piping will be a design element of the jacket closure
This gives you an idea of what it will look like after sewn. Still hard to see the piping because of the black zipper.
Both sleeves are attached now. The piping is basted to the arm hole before inserting the sleeve. After sleeve is attached, then you topstitch around the sleeve area. This was challenging for me, a lot of manipulating the piping and making sure when you attach the sleeve that it butts up to the piping edge.
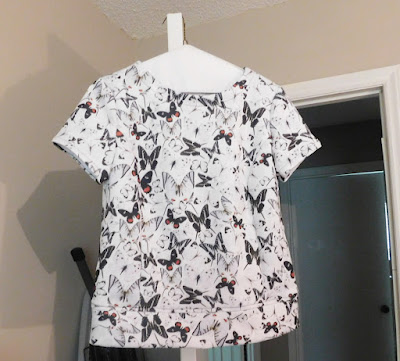
And finally the back view. Let me say that the pattern is described as loose fitting and it is. When I tried it on over my PJ's, it felt very large. The shoulders are very wide and I may add shoulder pads. I reduced the width of the shoulders before cutting out. When you look closely at the pattern envelope, you can see that the shoulders are wide on the model as well. Glad I cut some of the width off prior to sewing. I think when lining is added it will take up some of the fullness. I still may need to take deeper side seams as well as in the sleeve width.
Next steps:
- Sew the front facing to front lining piece
- Sew back facing to back lining piece
- Attach front and back lining pieces
- Attach lining unit to jacket at front edge and neck area.
- Try on for further fit tweaks and consider adding shoulder pads.
- Baste sleeve to lining sleeves at edge and make pleats ( I think this will be challenging)
- Add knit cuff to sleeve edge.
- Try on again to be sure sleeves are right length, etc.
- Turn up hem, insert elastic into resulting casing
- Jump for joy that it is complete!


Your jacket is going to be wonderful. Happy Holidays.
ReplyDeleteFabulous jacket Linda! ♥
ReplyDeleteWow! So many details into this jacket! Can't wait to see the final product!
ReplyDeleteVery cute! I really like the style. Beautiful fabric choice as well.
ReplyDeleteThank you! I am glad I finally finished this!
DeleteI'm thinking about starting this pattern, I still need zipper and ribbing trim, and piping lol. So I guess all I really have is the outer fabric lol and the lining.
Delete