
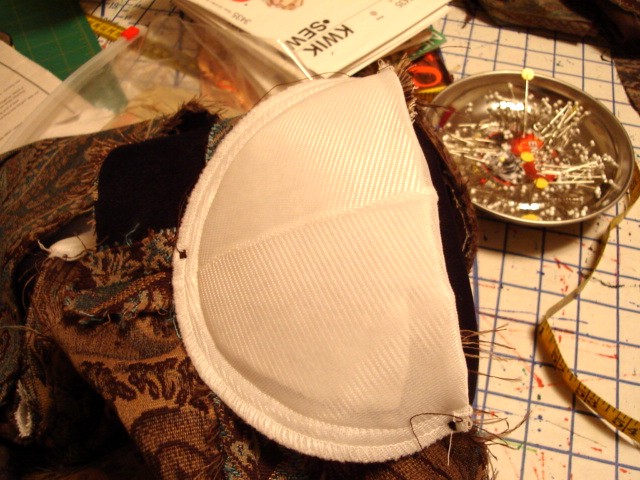
I made View B. Because of the paisley pattern, I did not use the decorative trim as suggested for this view. If I had made a solid color jacket as this view is depicted on the pattern envelope then I think would be a nice touch. This photo is of the jacket unit before attaching to lining.

I sewed the shoulder pads in using a zigzag stitch set to .5 length and 3.0 width. I locked stitches in place at start and end. I normally attach by hand but decided to sew by machine and hopefully secure better. I always sew each end of the shoulder pad, placing it about 1/2 inch beyond the sleeve cap. I then sew the opposite side to shoulder seam.
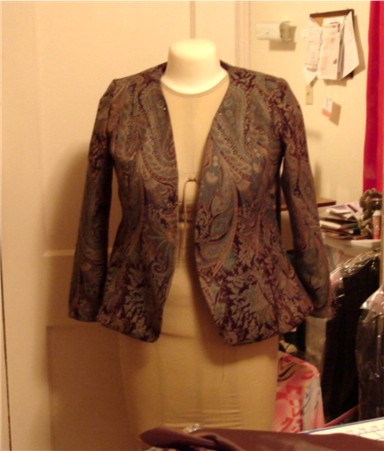
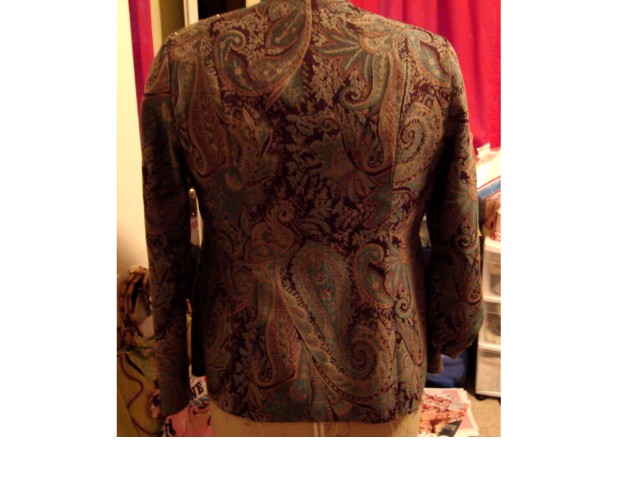
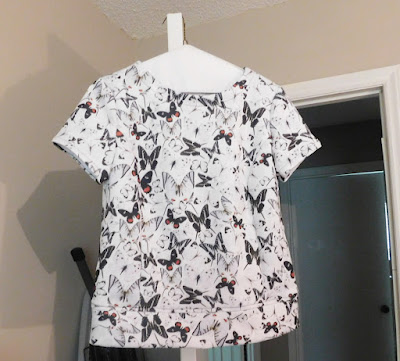
Here is the almost completed jacket front and back. As noted in previous post, I need to add buttonhole and button, once I find the right one.
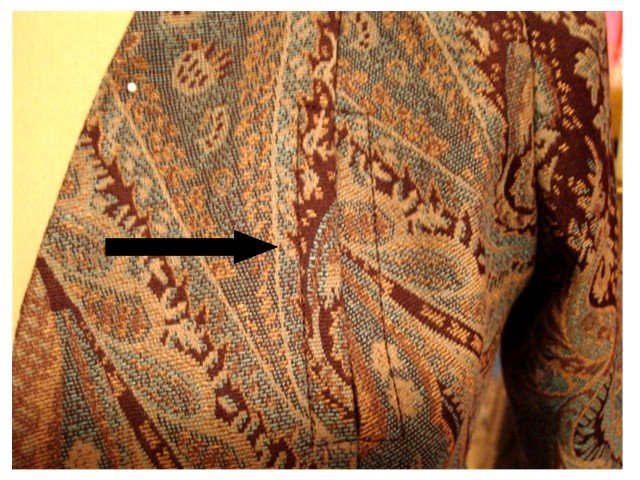
Lastly here is a close up with arrow pointing to decorative stitching in the princess seam upper chest area. This is great place to add another fabric color adding additional design detail to this jacket. This is somewhat like a slot seam. Because of the paisley print, I decided just to use the same fabric. I used a triple stitch from the quilting stitches menu on my Designer 1. I suppose I could have used a diamond type look but decided to use a square.
That's it for now.


Pretty! I just bought this pattern and like it very much. I'm glad to hear about the lining instructions being included. Thanks for the suggestion of treating the "slot seam" area with a contrasting fabric underneath. Good idea!
ReplyDeleteLovely, just lovely!
ReplyDeleteYour jacket turned out so nice! I love the paisley print.
ReplyDeleteBeautiful print.Love the jacket.
ReplyDeleteVery pretty, Linda! I love your fabric, and the shaping is so nice.
ReplyDeleteVery happy to have found your blog!
ReplyDeleteI happened across your review on the PR site while I was looking for a jacket pattern. I love the way yours turned out.
ReplyDelete