I began working again on the BWOF jacket this AM. I made considerable progress. As I posted before, I am following their "sewing course" that was included in this issue of the magazine and was written for sewing this particular jacket. As many who sew patterns from BWOF, they mention often the confusing instructions. I ran into some confusion attaching the collar band and collar to the jacket neckline and thus I got bogged down with trying to understand what I was being directed to do.
Part of the confusion in the end was not that I misunderstood what was written but the mechanics of what they were instructing the reader to do. Their method of attaching the collar/collar band to the the jacket was a completely different method from any I have used. Normally I would have attached the collar to the collar band and then attach this unit to the jacket. I would then would stitch the front and back facings together. Then I would attach the facings to the jacket. Then trim and press.
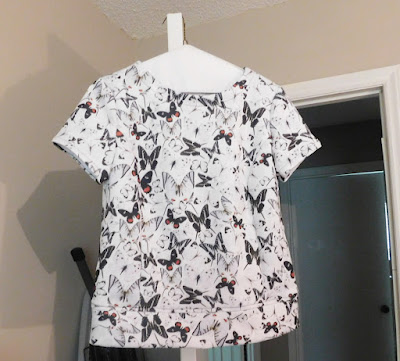
I took a photo of the collar/collar band attached per their instructions once I got my head around what they were instructing one to do. Let me say, that I missed some markings that were on the pattern when tracing. In one case, I had marked the pattern piece but was not clear as to the purpose of the mark. It become clear what this mark was for after proceeding to attach the collar/collar band and front facing. (You can click on the photo and get a larger view of this.)

Their method would have you attach the front facing piece to the front and bottom edge of the jacket; and attach the front facing to the upper neckline stopping at the "mark" that I should have made on the fabric that was on the pattern piece. They do have you attach the facing front to back, but you stop attaching this unit at the mark. They then have you sew the collar to the collar band. Next you sew the sides of the collar bands, leaving a seam allowance width to stop sewing at the bottom edge of the band. Since I used 5/8 then I stopped at the 5/8 seam allowance and left that unattached. You then sew the outer (interfaced) collar band to the facing pieces and the edge of your collar band should line up with where you stopped stitching the front facing at the neckline. The good part was that my pieces did.
Now you are ready to sew the other side of the collar band; this is stitched to the jacket. The instructions are to trim and press the seams open. Then you will line up the collar band joining edges and topstitch all of this together. I have yet to get to this step. I think I have my mind around the fact that topstitching will join all of this together and you will have a nice enclosed collarband and facing.
I recognize that I could have finished the jacket if I had done it my usual way. I could then be typing now telling you I completed my jacket and I am ready to start the next project. It was important to me me to follow this through as it is good to learn new things. That was one of my goals for 2009. I will probably not use this method again in the future. It does seem to take more sewing time to do this; especially since I had never used this method before. I am glad that I did it. I am also very proud that all the pattern pieces lined up nicely to sew this; IMHO that is sign of a well drafted pattern. Also I traced well !!!
When I do topstitch the collar band at the collar band joining edges (as they describe this area), I will not have a lot more to complete. This has been a good sewing journey.


No comments:
Post a Comment